Building an operating system from scratch: PckOS.
I started working on PckOS as a hobby seven years ago. Here’s a short account of the project.
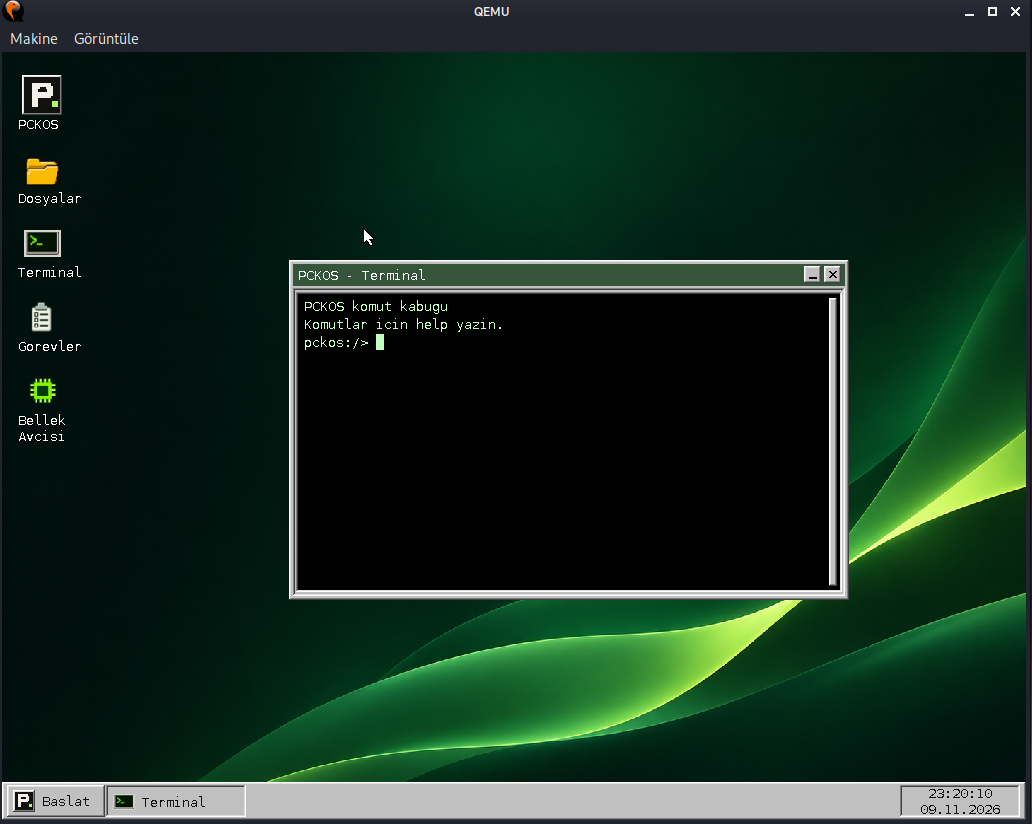
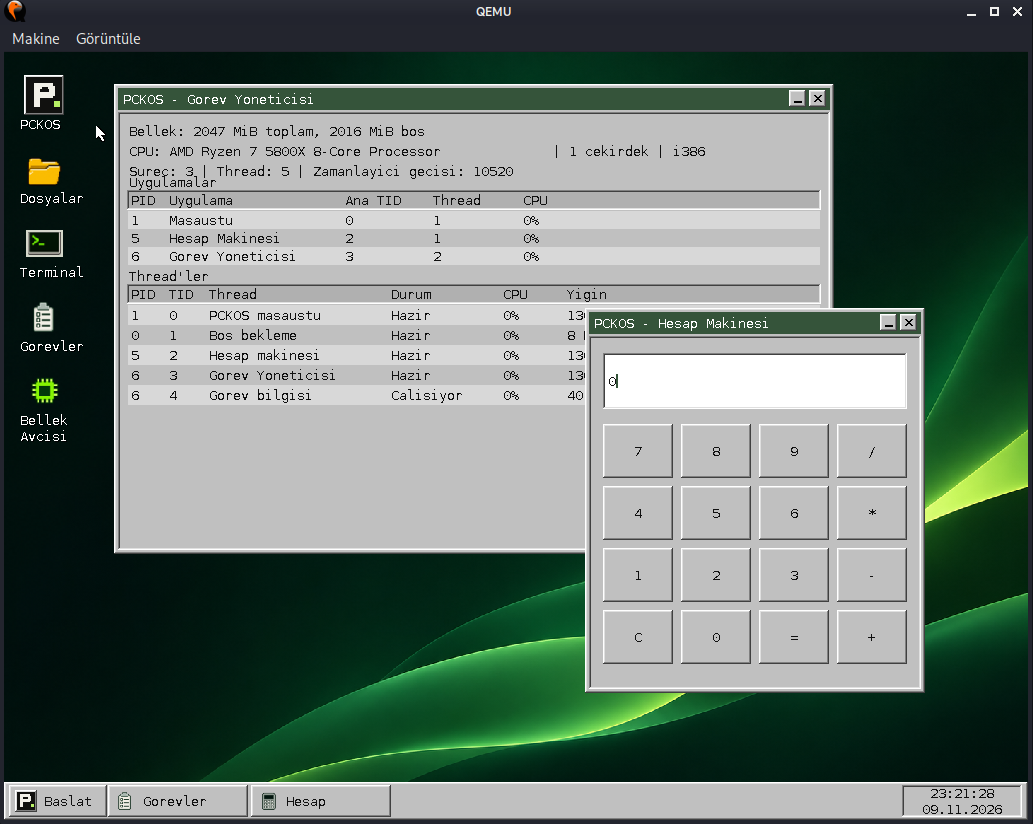
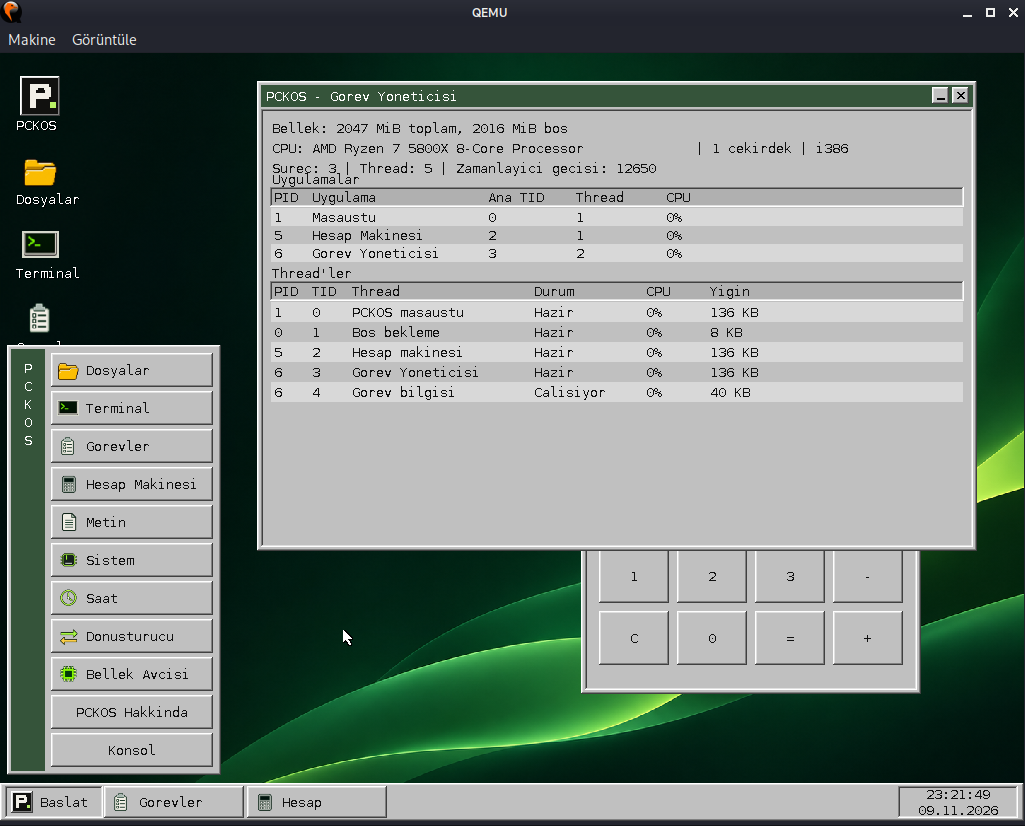
Seven years ago, before generative AI tools existed, I started writing my own operating system as a hobby. As a systems programmer, it was a project I wanted to take on. I couldn’t give it regular time or work on it full-time; it was a hobby, after all. Still, PckOS gradually became a system that boots in QEMU and VirtualBox, with a desktop and basic apps. I had barely worked on the kernel for the past two years. I wanted to share a few screenshots of how far it had come. I’m not entirely sure why I stopped, and I think I’d like to continue.
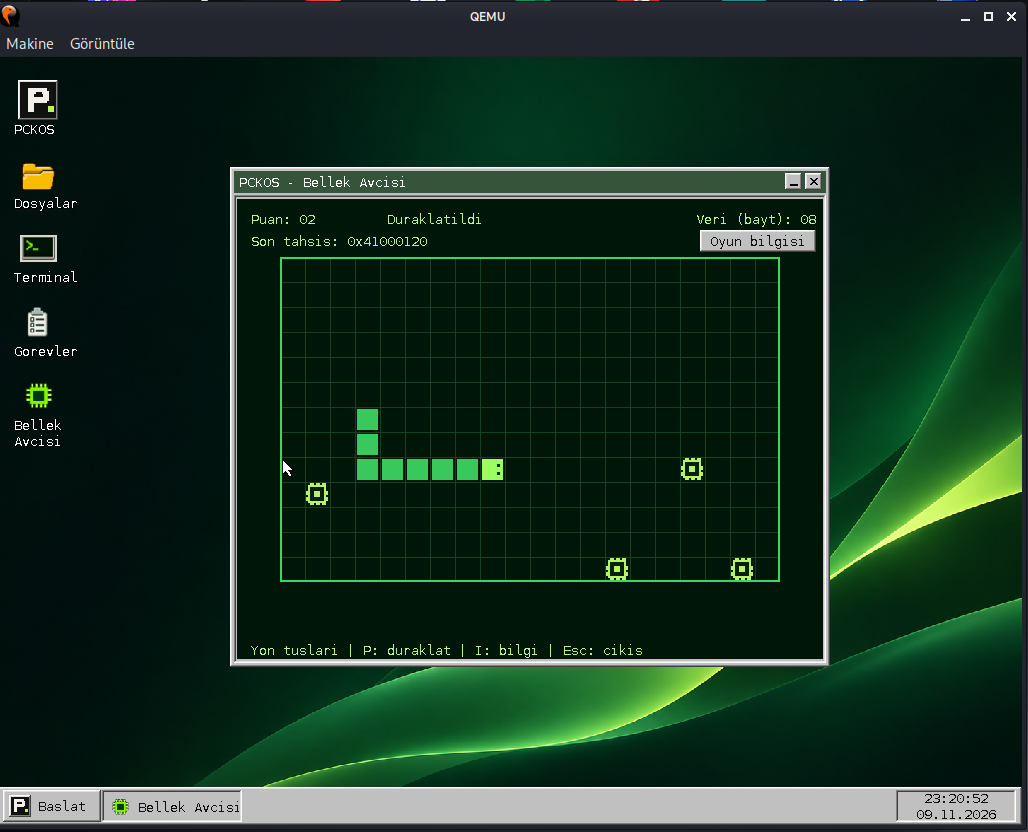
Each time food is collected, a uint32_t (4 bytes) is allocated from the user heap. The window displays the allocation address and total size of the allocated game data.
The last allocation address is the starting address of the most recently allocated 4-byte block. When the game closes, the allocations are freed with delete.
PckOS is my personal kernel project, with support for x86 and x86_64 as goals. When I first wrote this article, it ran on a single processor while supporting multiple threads. Since then, I’ve added ACPI/xAPIC-based SMP support: PckOS can now use up to 32 logical processors with Round Robin scheduling, and provides separate address spaces for processes. It continues to support single-processor systems too. PckOS currently runs on 32-bit x86, and adding 64-bit architecture support is one of my key goals. I developed the kernel on Linux in C++ and Assembly. I wrote the Assembly in Intel syntax and assembled it with NASM; the C++ code was compiled with GNU G++.
PckOS also became a kind of computer-science lab for me. More than adding features, I used the project to explore device drivers and the machine code generated after compiling C++ and Assembly. Over time, it even helped me get to the point where I can often predict what kind of machine code the G++ compiler will produce from C++ I’ve written on Linux.
To me, building an operating system is one of the most demanding pursuits in computer science. It requires many layers—from the processor and memory to booting and process management—to work together. Seeing code you wrote run independently in a virtual machine, as a kernel that is entirely yours, is deeply satisfying and a lot of fun. You have to put many different areas of computer science into practice. It’s hard work, but rewarding.
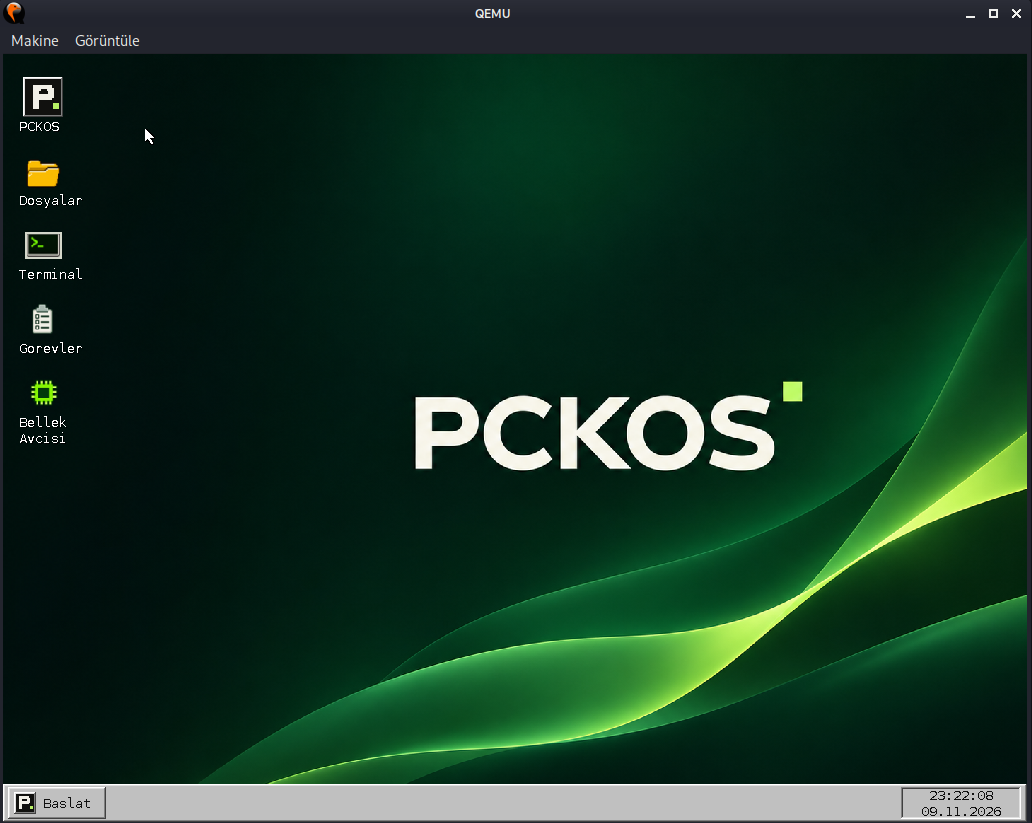
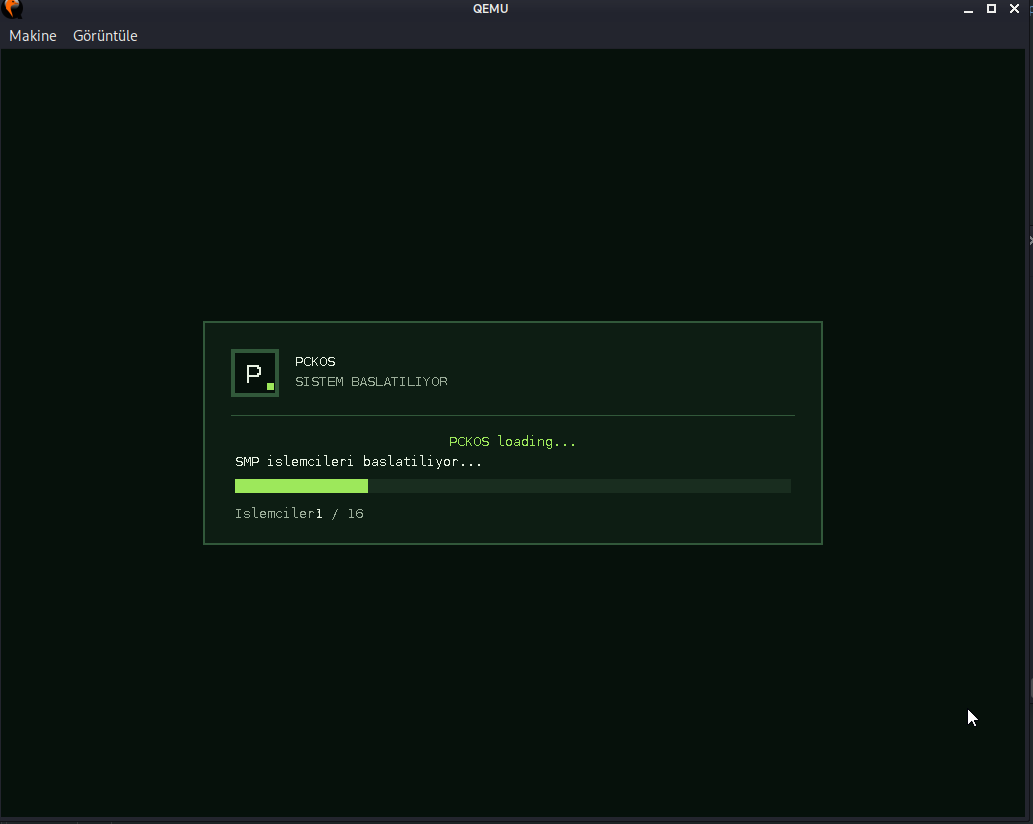
Download and run PckOS
To try PckOS, download pckos.iso and one filesystem image: pckfs.img for QEMU, or the ready-made pckfs-vbox.vdi for VirtualBox. The ISO boots the kernel; the disk image contains the PCKFS root filesystem. The download links point to the repository’s main/downloads folder, so the same links provide the current versions when the files are updated on GitHub.
Run it in QEMU
If QEMU is installed, run this command from the directory containing both files:
qemu-system-i386 -m 2G \
  -cdrom pckos.iso \
  -drive file=pckfs.img,format=raw,if=ide,index=0,media=disk
Run it in VirtualBox
To run PckOS in VirtualBox, the pckfs.img disk image needs to be converted to VDI format. You can either download the ready-made pckfs-vbox.vdi or convert pckfs.img yourself using the command below.
The ready-made VDI link points to the current file on GitHub. If you download it, skip the conversion step: you only need pckos.iso and pckfs-vbox.vdi, not pckfs.img as well.
If you prefer to convert pckfs.img yourself, run this command from the directory containing the file:
VBoxManage convertfromraw pckfs.img pckfs-vbox.vdi --format VDIThen create a new Linux / Other Linux (32-bit) virtual machine. Set the memory to 2 GiB, choose VBoxVGA as the graphics controller and turn off 3D acceleration. Don’t create a blank disk. In the storage settings, attach pckos.iso to the optical drive and pckfs-vbox.vdi as the IDE Primary Master. Set the optical drive first in the boot order.
In closing
This isn’t a finished kernel, just a short note about PckOS, which I started seven years ago and worked on in different periods.
I’ve resumed working on PCKOS. I share recent additions, including ACPI/xAPIC-based SMP support, along with other changes and development notes in the GitHub repository. The project is still evolving, and I’ll continue posting updates there. 🙂